The $200 Studio: Professional Lighting Setups That Rival a $50,000 Production House
You don't need a $50,000 studio to shoot commercial product photos. Simple diffusion and smart continuous lighting create stunning results.
TechniquesPublished April 12, 20268 min readBy the Reframe Visuals editors
The Gear Myth That Keeps Small Brands Small
There's a persistent myth in eCommerce: great product photography requires expensive equipment. Brands see the pristine catalogs of luxury houses and assume they need a $40,000 camera system, a dedicated studio space, and a team of lighting technicians.
Struggling with color temperature drift or high return rates?
Protect your margins with scientific color correction and multi-path colorway separation. Request 3 free sample color adjustments to match your physical swatches perfectly.
The truth? The difference between a $200 setup and a $50,000 setup is roughly 10% in final image quality-and that 10% is almost entirely recoverable in post-production. What matters far more than gear is understanding light.
Here are three battle-tested lighting configurations that will transform your product photography immediately.
Setup 1: The Single Softbox (The Workhorse)
Total Cost: ~$120 | Best For: Hard goods, electronics, packaged products
This is the most versatile setup in product photography. You need:
- One continuous LED panel or strobe (~$80)
- One 24x36" softbox (~$30)
- One white foam board as a reflector (~$10)
The Configuration:
- Position the softbox at 45 degrees to the product, roughly 2 feet away.
- Place the white foam board on the opposite side, angled to bounce light back into the shadow side.
- The softbox creates your key light with natural falloff. The foam board fills the shadows without eliminating them.
The beauty of this setup is its simplicity. By moving the foam board closer or farther, you control the lighting ratio (the contrast between light and shadow sides). Closer = softer shadows. Farther = more dramatic depth.
Setup 2: The Dual Strip (The Fashion Standard)
Total Cost: ~$200 | Best For: Apparel, accessories, flat-lay photography
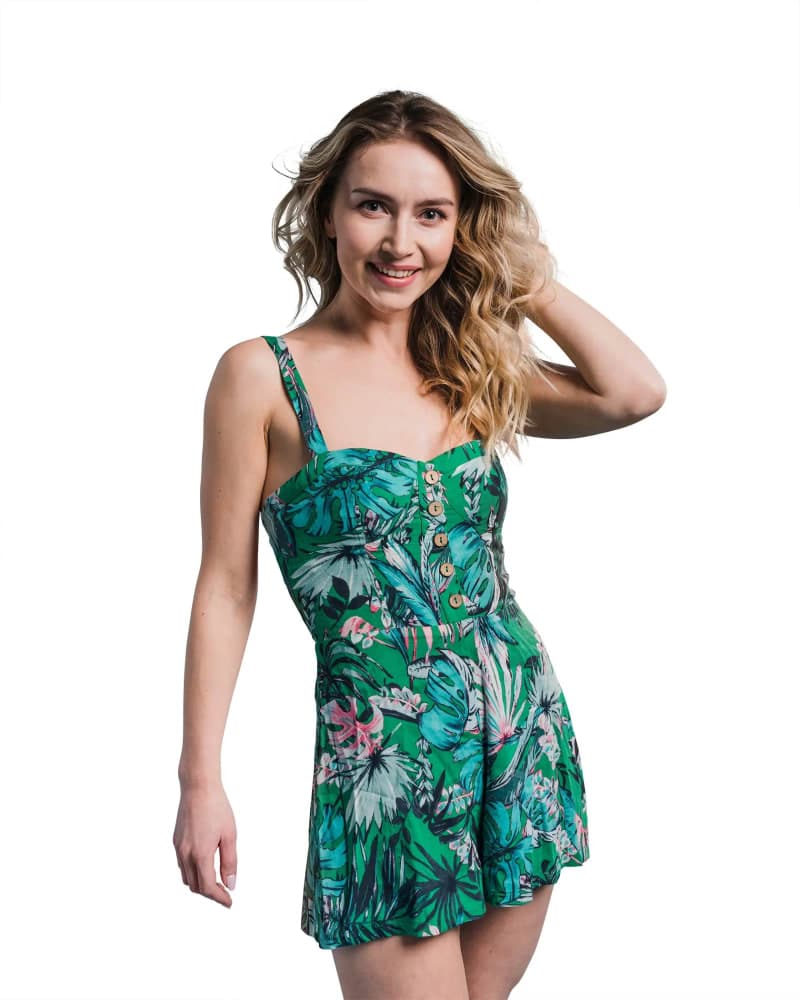
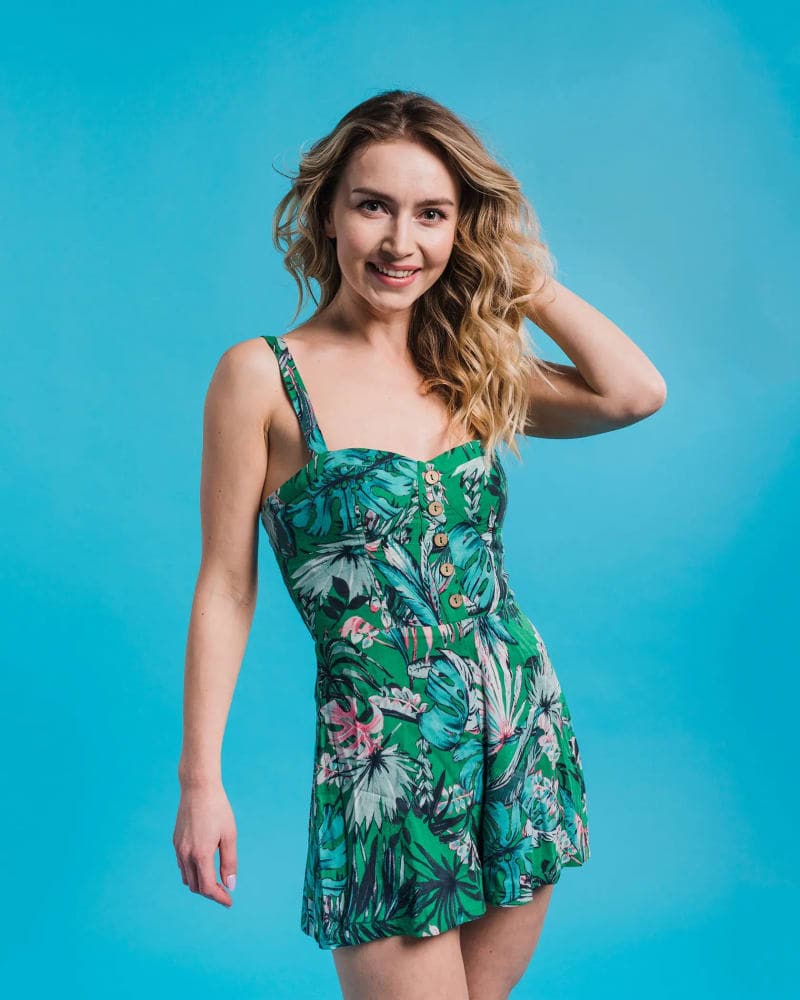
For clothing and fashion accessories, you need even, wrap-around lighting that reveals texture without harsh shadows:
- Two strip softboxes (12x48") (~$60 each)
- Two light stands (~$40 each)
The Configuration:
- Position both strips at 90 degrees to the product-one on each side.
- Angle them slightly forward (about 30 degrees toward the camera).
- Set them at equal power for "clamshell" lighting, or reduce one by 1 stop for subtle dimension.
This setup eliminates the harsh shadows that make garments look wrinkled or textured in unflattering ways. It's the same configuration used by major fashion retailers for their ghost mannequin and flat-lay work.
Setup 3: The Light Tent (The Reflective Surface Killer)
Total Cost: ~$80 | Best For: Jewelry, watches, cosmetics, anything shiny
Reflective products are the hardest to photograph because they mirror everything in the room. A light tent solves this by creating a uniform white environment:
- One collapsible light tent (24-30") (~$40)
- Two desk lamps with daylight bulbs (~$20 each)
The Configuration:
- Place the product inside the tent.
- Position the desk lamps outside, pointing at the tent walls.
- The tent diffuses the light into a smooth, reflection-free envelope.
For jewelry specifically, you'll want to cut a small slit in the tent for your lens, minimizing the dark "camera reflection" that appears on polished metal surfaces.
| Setup | Cost | Difficulty | Best Product Types |
|---|---|---|---|
| Single Softbox | $120 | Beginner | Electronics, packages, home goods |
| Dual Strip | $200 | Intermediate | Apparel, accessories, flat-lay |
| Light Tent | $80 | Beginner | Jewelry, watches, cosmetics |
The Post-Production Bridge
Here's the critical insight most DIY guides miss: A $200 lighting setup combined with professional post-production produces results indistinguishable from a $50,000 studio.
The lighting provides the foundation-proper exposure, natural shadows, and accurate color. Professional Color Correction then fine-tunes the white balance and exposure curves to match high-end studio standards. Background Removal delivers the clean, marketplace-compliant output. And Shadow Creation adds the grounding that makes the product look like it was shot against a proper backdrop.
This "DIY Capture + Professional Post" model is how hundreds of scaling brands produce 500+ images per month without the overhead of a dedicated studio. They shoot in a spare room with a $200 setup. We handle the rest.
The One Investment That Actually Matters
If you have $200 for gear and $100 more for one upgrade, skip the expensive camera. Instead, invest in a color-calibrated monitor (like the BenQ SW series or even a basic SpyderX calibrator for your existing monitor).
Every decision you make about exposure, color, and contrast is based on what you see on your screen. If your screen lies, your decisions are wrong-and no amount of studio lighting can compensate.
- Start Simple: One light, one reflector, one product. Master the basics.
- Scale Smart: Add lights as you understand how each one contributes.
- Bridge the Gap: Let professional post-production elevate your DIY captures to catalog-ready quality.
The most expensive studio in the world can't help you if you don't understand light. The cheapest setup in the world can produce magic if you do.
Get an exact price for your images.
Tell us your volume and the edits you need. We reply with a price, and you can send sample images to make it exact.