How to Remove Wrinkles from Clothes in Photoshop: The Professional Studio Guide
Learn how commercial apparel retouchers remove wrinkles from clothes in Photoshop using frequency separation. Smooth deep shipping creases without flattening fabric weave or losing natural drape.
TechniquesPublished October 30, 2026Updated October 30, 20268 min readBy the Reframe Visuals editors
Key takeaways
- Frequency separation splits fabric texture from crease shadow tones, smoothing wrinkles without creating blurry, plastic-looking garments.
- Basic Healing Brush or Clone Stamp tools smudge thread patterns and ruin garment structure under 200% zoom inspection.
- Commercial apparel studios combine gentle pre-shoot steaming with digital retouching to maintain natural drape and shadow volume.
- Turnaround is 12h–72h chosen at checkout, with 3 free sample garments edited to test quality before committing.
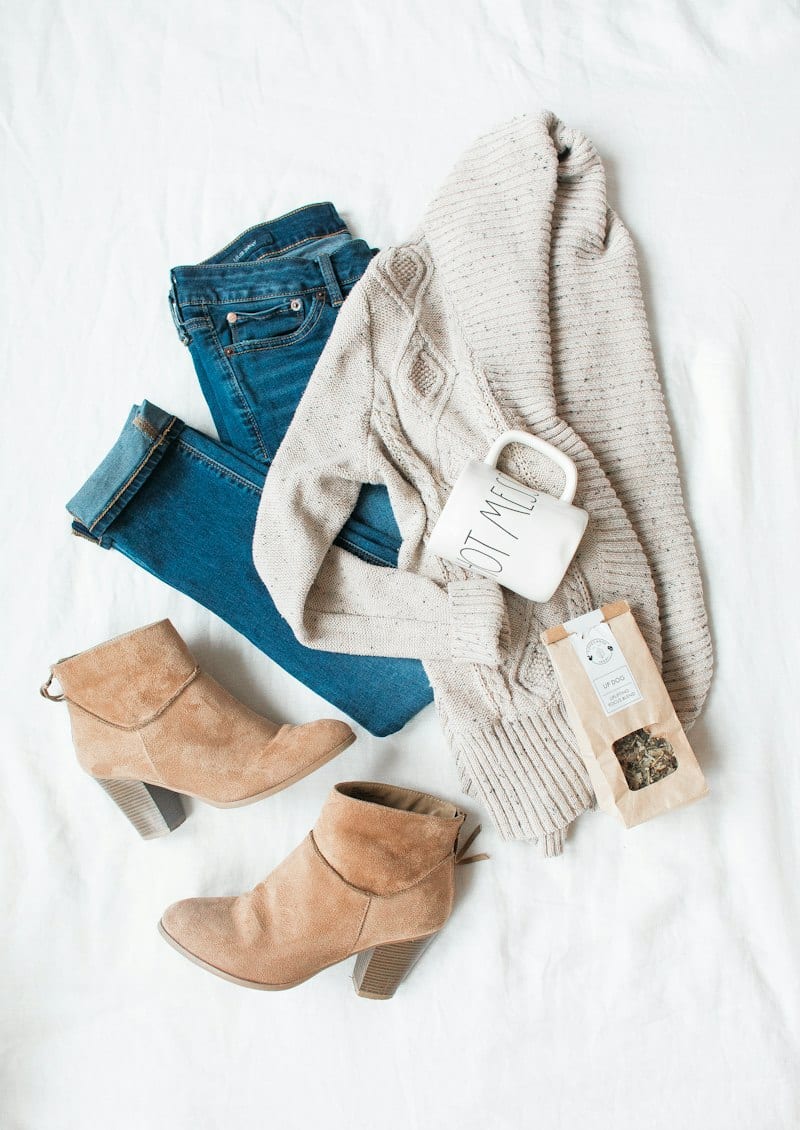
Deep wrinkles, transit creases, and crumpled fabric can ruin an otherwise flawless apparel photoshoot. When customers browse fashion collections online, fabric condition directly signals product quality: a sharply pressed shirt communicates premium craftsmanship, while a crumpled garment looks cheap and neglected.
While on-set steaming is essential, delicate silks, linen blends, structured suits, and unpacked samples often arrive on set with stubborn creases that heat and steam cannot completely eliminate.
In professional commercial post-production, retouchers use digital fabric smoothing to remove unwanted creases while preserving authentic material texture. This comprehensive guide explains how commercial studios remove wrinkles from clothes in Photoshop without turning fabric into blurry, plastic mush.
Why the Clone Stamp & Healing Brush Fail on Fabric
Most beginners attempt to remove clothing wrinkles using the standard Clone Stamp, Spot Healing Brush, or Patch tool. On textured fabric, this almost always creates visual disaster.
Fabric is composed of microscopic interlaced threads, knit patterns, and light-reflecting fibers. When you drag a standard Healing Brush across a crease, Photoshop's algorithm averages the surrounding pixels:
- The Texture Smudge: The sharp thread weave is smeared into a muddy, blurry patch that screams "edited" under desktop 200% zoom.
- The Shadow Halos: Healing tools blend the dark valley of the wrinkle with the bright apex, creating dirty gray halos along the fabric surface.
- Loss of Garment Drape: Aggressive cloning erases the natural contour shadows that define how a sleeve hangs or how a waistline tapers, leaving the clothing looking flat and lifeless.
To achieve clean, catalog-ready apparel visuals, commercial retouchers rely exclusively on Frequency Separation.
Handling a high-volume apparel collection or seasonal drop?
Don't spend dozens of internal studio hours hand-painting frequency separation layers. Send your catalog to Reframe Visuals: Get 3 free sample garments retouched by senior editors — complete with two-editor QA and delivered in 12h–72h.
Frequency Separation: The Only Professional Method
Frequency separation is a retouching technique that divides an image into two independent spatial frequency layers:
- High-Frequency Layer (Texture): Contains only the fine details: the weave of cotton, the grain of linen, denim twill lines, surface stitching, and seam threads. It contains no broad color or shading information.
- Low-Frequency Layer (Color & Tone): Contains the underlying color, gradient transitions, and light/shadow values. This is where the shadow and highlight of a wrinkle physically live.
By separating texture from tone, you can smooth out the dark shadow and bright highlight of a crease on the Low-Frequency layer without disturbing a single thread on the High-Frequency layer. The garment looks immaculately pressed while maintaining 100% authentic fabric weave.
Step-by-Step Photoshop Workflow for Wrinkle Removal
Here is the exact production workflow professional retouchers execute in Adobe Photoshop:
Step 1: Create the Frequency Separation Action
- Duplicate your base garment layer twice. Name the lower duplicate "Low Frequency (Color)" and the upper duplicate "High Frequency (Texture)".
- Select the Low Frequency layer. Apply a Gaussian Blur (typically between 3.0 and 6.0 pixels, depending on image resolution). Set the radius just until the individual fabric weave disappears while garment shapes and large shadows remain visible.
- Select the High Frequency layer. Go to Image > Apply Image.
- Set Layer to "Low Frequency".
- Set Blending to "Subtract".
- Set Scale to 2, and Offset to 128.
- Click OK. The layer will turn into a neutral 50% gray silhouette containing only fabric textures.
- Change the High Frequency layer's blending mode to Linear Light. The image will now look completely identical to the original unedited photograph.
Step 2: Smooth Wrinkles on the Low-Frequency Layer
- Select the Low Frequency layer.
- Select the Mixer Brush Tool or standard Lasso Tool with a feathered edge (15–30px).
- Using the Mixer Brush (Clean Brush, Wet: 20%, Load: 25%, Mix: 20%, Flow: 25%), gently paint along the direction of the fabric fold.
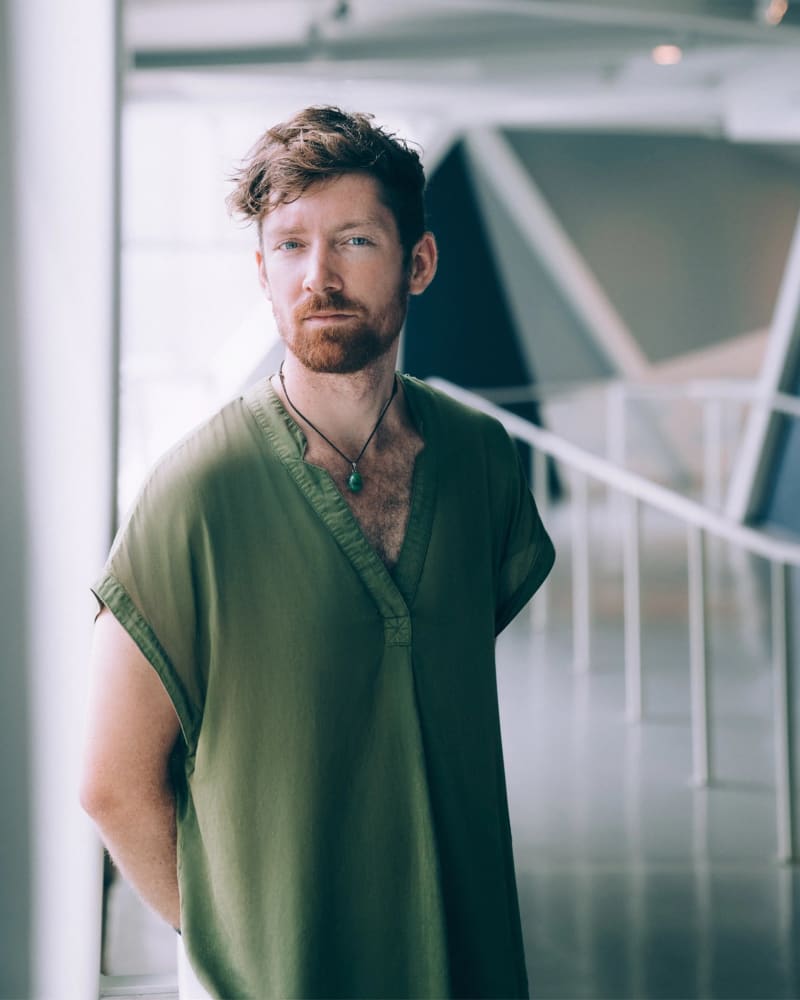
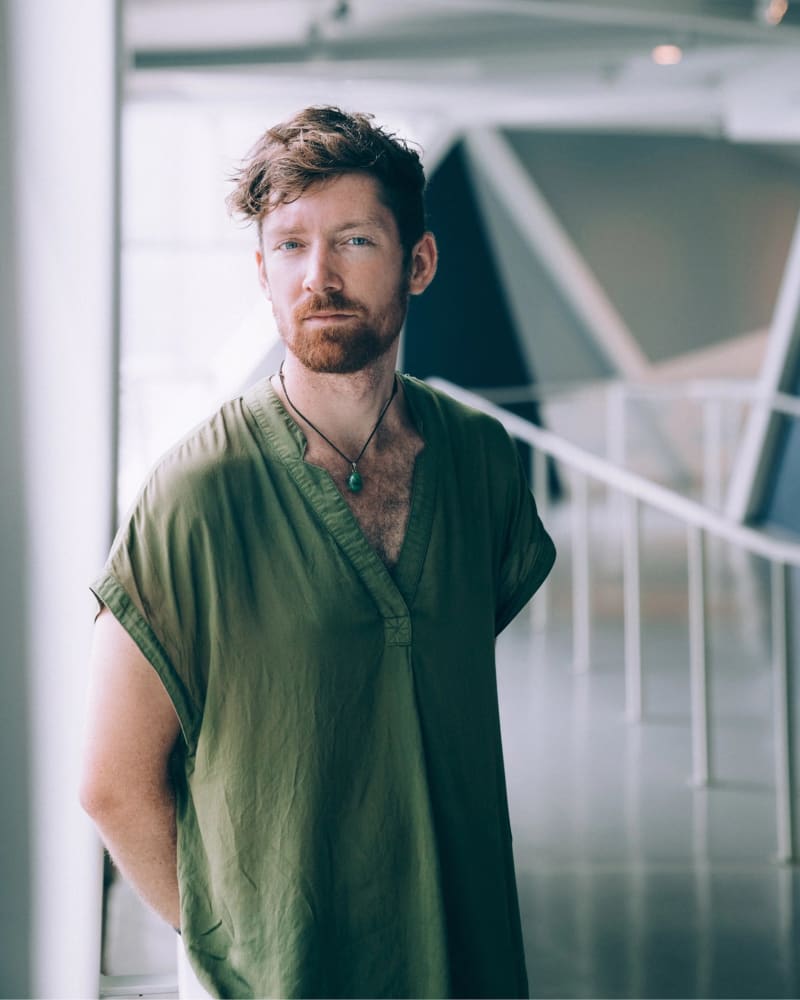
- Notice what happens: the dark valley of the crease and the harsh reflection highlight blend smoothly together, neutralizing the wrinkle completely. Because the High Frequency layer sits on top, the microscopic fabric texture remains razor-sharp and completely untouched.
Step 3: Clean Residual Seam Distortions on High Frequency
If a wrinkle was so sharp that it physically distorted the fabric weave (such as a hard shipping fold), switch to the High Frequency layer. Use the Clone Stamp Tool (set to "Current Layer") to clone clean fabric texture over the damaged crease pattern.
Need catalog wrinkle removal at scale?
Explore our dedicated Garment Retouching Service starting from $0.55 per image. Whether you need shipping creases smoothed, collar lines leveled, or ghost mannequin alignment, our studio processes 5,000+ apparel images daily with guaranteed SLAs.
Steaming On Set vs. Digital Retouching: A Commercial Cost Breakdown
Many creative directors ask: "Why not just steam every garment thoroughly on set and eliminate retouching entirely?"
In commercial ecommerce photography, time is your most expensive asset. A professional fashion photo shoot costs between $1,500 and $5,000 per day when factoring in photographer fees, studio rental, model day rates, and hair/makeup artists.
| Stage | On-Set Steaming Only | Hybrid: Quick Steam + Digital Retouch |
|---|---|---|
| Preparation Time | 15–25 minutes per delicate garment | 3–5 minutes quick steam for major folds |
| Daily SKU Throughput | 25–40 garments maximum | 80–120 garments per studio day |
| Stubborn Crease Fix | Frequently fails on unpacked transit samples | 100% eliminated in post-production |
| Model Fatigue | High (waiting for garments to be re-steamed) | Minimal (continuous shooting flow) |
| Total Cost Per Finished SKU | $35–$60 per product in studio idle time | $0.55–$1.99 per image in retouching |
The most profitable ecommerce apparel brands adopt a hybrid strategy: crew members quickly steam garments to eliminate massive bulk wrinkles, while digital retouchers handle fine creasing, hem neatening, pin removal, and color alignment during post-production.
How to Keep Natural Fabric Drape Without Over-Editing
The primary danger in apparel retouching is over-smoothing. If an editor removes every single line, a linen shirt looks like plastic vinyl, and a structured coat looks like a flat graphic illustration.
To preserve product authenticity:
- Keep Tension Folds: Do not remove the natural folds that radiate from a model's elbow, knee, or waistline when they move. These tension folds prove the clothing has weight, stretch, and authentic fit.
- Preserve Seam Highlights: Never flatten the dimensional highlights along pocket stitching, lapels, and side seams.
- Check at 100% and 300% Zoom: Always evaluate the finished garment on a calibrated 4K monitor. If the fabric texture looks airbrushed or blurred, dial back the opacity of your Low Frequency smoothing layer.
At Reframe Visuals, every apparel file passes through our standardized two-editor QA process: one specialist retoucher smooths creases and levels hems, and a senior quality control editor inspects fabric weave fidelity and color profiles before final signoff.
Get an exact price for your images.
Tell us your volume and the edits you need. We reply with a price, and you can send sample images to make it exact.
Questions answered
6 questions
Professional studios use frequency separation to isolate the high-frequency fabric texture (thread weave and stitching) from the low-frequency color and shading (the shadow of the wrinkle). By smoothing only the low-frequency shadow layer, wrinkles disappear while 100% of the genuine fabric texture remains intact.
Yes. Delicate fabrics like silk, satin, linen, and sheer knits require calibrated brush tolerances to preserve natural drape. Our retouchers smooth unsightly shipping and folding wrinkles while retaining the physical weight and authentic texture of the garment.
Yes. We retouch garments photographed on live models, ghost mannequins, flat lays, and hanger shots. On model photography, we smooth apparel creases while keeping skin, hair, and body proportions completely untouched (or apply full model retouching upon request).
In addition to wrinkle removal, our garment retouching service cleans up stray threads, lint, dust, pins, clips, security tags, price tags, and small fabric blemishes. We also level hems and neaten collar symmetry.
Garment retouching starts at $0.55 per image for simple wrinkle cleanup, scaling to $0.99 for moderate creases and $1.99 for complex multi-layered apparel, structured outerwear, or intricate patterns. High-volume catalog drops receive discounted enterprise rates.
Turnaround is 12h–72h chosen at checkout. Urgent e-commerce drops and editorial campaigns can select 12-hour Express delivery, and every order includes 14 days of free revisions with our two-editor QA guarantee.
No matching questions
Try a shorter keyword, or choose another category.