Shoot to Edit: The 7 Camera Settings That Make Post-Production 10x Easier
The best retouchers know that clean post-production starts in-camera. These 7 camera settings save hours of manual Photoshop labor.
TechniquesPublished April 14, 20268 min readBy the Reframe Visuals editors
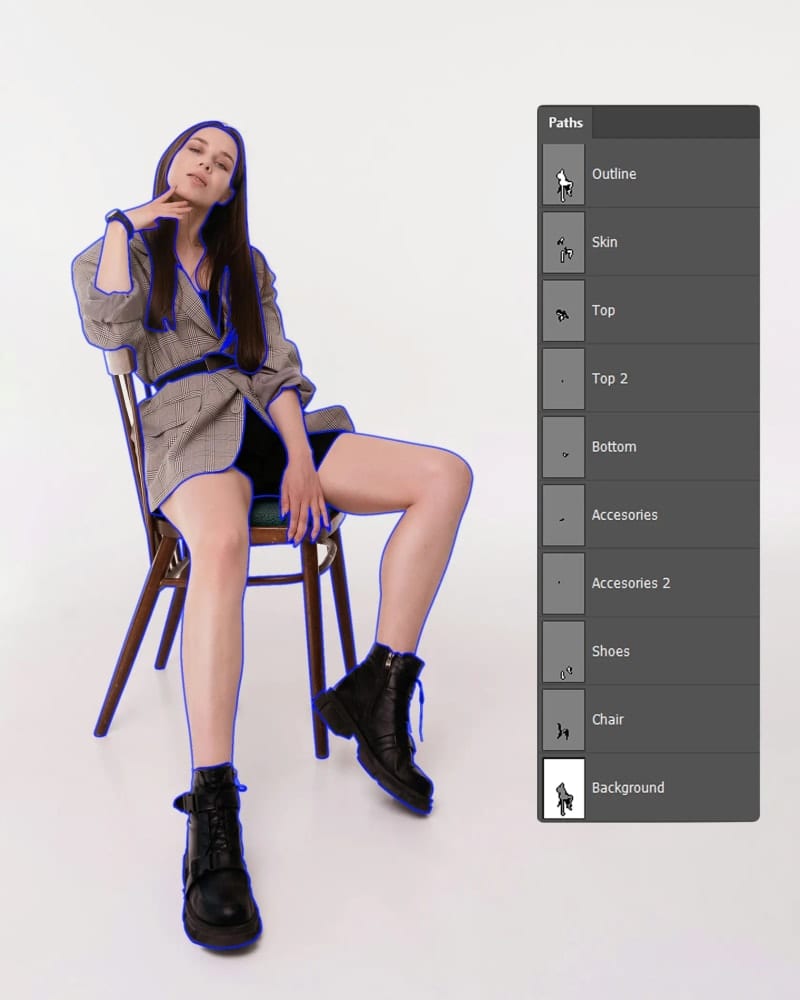
The "Fix It in Post" Fallacy
There's a dangerous phrase echoing through studios worldwide: "We'll fix it in post." It's the photographic equivalent of "we'll figure out the business model later." And it leads to the same result-wasted time, wasted money, and compromised quality.
Struggling with color temperature drift or high return rates?
Protect your margins with scientific color correction and multi-path colorway separation. Request 3 free sample color adjustments to match your physical swatches perfectly.
The truth is: Post-production amplifies what's already there. If you capture a beautifully lit, properly exposed, color-accurate raw file, editing becomes a 10-minute polish. If you capture a dark, noisy, color-shifted JPEG, editing becomes a 2-hour reconstruction that still looks inferior.
Here are the 7 camera settings that separate studios who scale effortlessly from studios who drown in revision cycles.
1. Shoot RAW, Not JPEG (Always)
A JPEG file is a compressed snapshot. The camera has already made irreversible decisions about white balance, contrast, and color rendering. A RAW file is the unprocessed sensor data-every photon of information the camera captured, preserved for your editor to interpret.
RAW files give your Color Correction team 2-3 additional stops of dynamic range to work with. That means they can recover highlight detail in reflective metals and shadow detail in dark fabrics that would be permanently clipped in a JPEG.


2. Set Color Space to Adobe RGB (Not sRGB)
Your camera likely defaults to sRGB, which covers only 35% of the visible color spectrum. Adobe RGB covers 50%-a 43% wider gamut. For saturated fabrics (deep reds, vibrant greens, royal blues), sRGB simply cannot record the full richness.
Shoot in Adobe RGB, edit in Adobe RGB, and only convert to sRGB at the very last step when exporting for web. This preserves maximum color data throughout the entire pipeline.
3. Expose to the Right (ETTR)
This is the single most impactful technique most photographers never learn. Digital sensors capture significantly more tonal data in the highlights than in the shadows. By intentionally over-exposing your image until the histogram just touches the right edge (without clipping), you maximize the signal-to-noise ratio.
Your editor can then pull the exposure back down in post, and the shadow areas will be cleaner, smoother, and more detailed than if you had exposed "correctly" in camera.
4. Lock ISO to Base (100 or 64)
Every increase in ISO adds electronic noise to the image. For product photography, there is zero reason to shoot above base ISO. You have complete control over lighting power and shutter speed. Noise in product images is immediately visible at zoom-and zoom is how customers evaluate quality.
5. Shoot Tethered to a Calibrated Monitor
Reviewing images on a 3-inch camera LCD is like evaluating paint colors through a keyhole. Tethered shooting-where images display in real-time on a calibrated desktop monitor-lets your team catch focus errors, lighting issues, and composition problems during the shoot, not after.
This single practice reduces the need for post-production Retouching corrections by an estimated 40%.
6. Use a Consistent White Balance Preset
As we covered in our exploration of color temperature, Auto White Balance (AWB) is the enemy of catalog consistency. Set a Custom White Balance using a gray card at the start of each session, and lock it. Every frame in the session will share the same color baseline, making batch Color Correction fast and precise.
7. Enable Lens Profile Correction (If Shooting Below 85mm)
If your studio space forces you to shoot at wider focal lengths, enable your camera's built-in lens profile correction. This applies a mathematical counter-distortion to the image in real-time, reducing the barrel effect before the file even reaches your editor.
For cameras that don't support this, our editors apply Adobe's lens correction profiles during the Background Removal and Clipping Path workflow, ensuring geometrically accurate final assets.
| Setting | The Amateur Default | The Professional Standard |
|---|---|---|
| File Format | JPEG Fine | RAW (14-bit lossless) |
| Color Space | sRGB | Adobe RGB |
| Exposure Strategy | Auto/Matrix | Manual ETTR |
| ISO | Auto (100-6400) | Locked to Base (100) |
| Review Method | Camera LCD | Tethered to calibrated monitor |
| White Balance | Auto (AWB) | Custom (Gray Card) |
| Lens Correction | Off | On / Applied in post |
The Compound Effect
Each of these settings individually makes a small improvement. Combined, they create a compound quality effect that is immediately visible in the final output. Studios that adopt all seven practices consistently report:
- 50% reduction in editing time per image
- 90% reduction in revision requests
- Measurably sharper, cleaner, more color-accurate final assets
The best post-production starts before the shutter clicks.
- For Photographers: Master your capture, and editing becomes effortless.
- For Brand Owners: Ask your studio about these 7 settings before your next shoot.
- For Editors: Advocate for better capture-it makes your craft shine.
Don't fix it in post. Fix it in the camera.
Get an exact price for your images.
Tell us your volume and the edits you need. We reply with a price, and you can send sample images to make it exact.